So the awesome folks at EcoTech Marine sent me a review model of their Radion to test out in a planted aquarium setting. It’s the perfect excuse to set up a new tank.
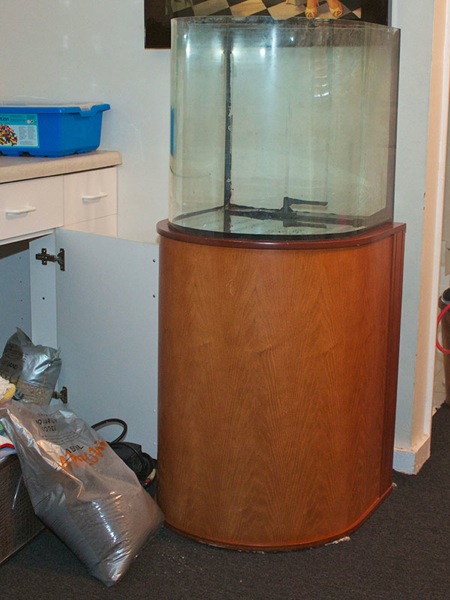
I happen to have a 24 gallon Cardiff aquarium lying around so I decided to use it for this experiment. You can see it below. I’m going to run you through how I completed the initial set up. It’s a test tank so I didn’t spend the time thinking through the aquascape design that I would normally do. However, I don’t think it came out to bad.
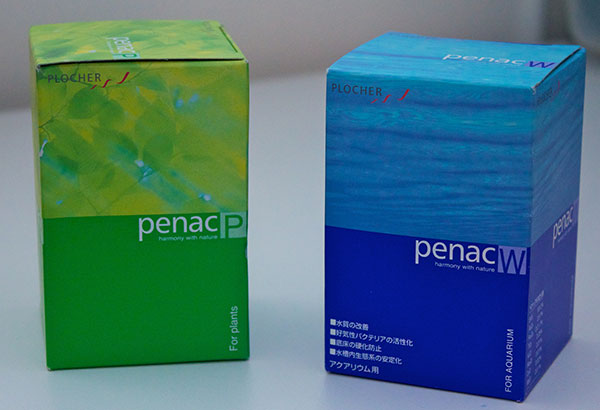
Plocher System – Penac P and W
Yes, I use the Penac products. In my experience, I have better success when I use them especially for a long term setup. Call them snake oil if you like. However, before you cast that stone, ask yourself if you should try them first. Did you know Penac P is 98.1% CaCO3 and .9% MgCO3? How about Penac W being 99% SiO2 with the 1% being Al2O3, Fe2O3,TiO2, K2O, Na2O,CaO and MgO?
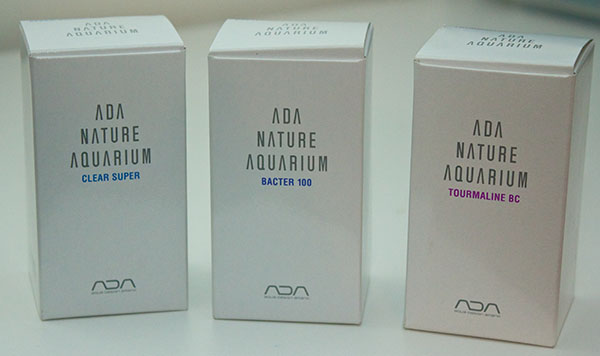
Tourmaline BC, Clear Super, Bacter 100
I also use the ADA base system that uses Tourmaline BC (an insoluble form of boron), Clear Super (tiny activated charcoal) and Bacter 100 (bacterial culture). Again, experience has taught me that my success with them is better than without for long term setups.
I start by adding the Penac W over the area to be planted as you can see here:
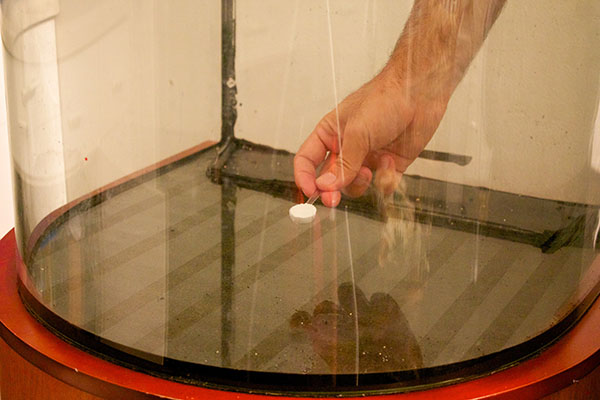
I then follow that with the Penac P over the same area:
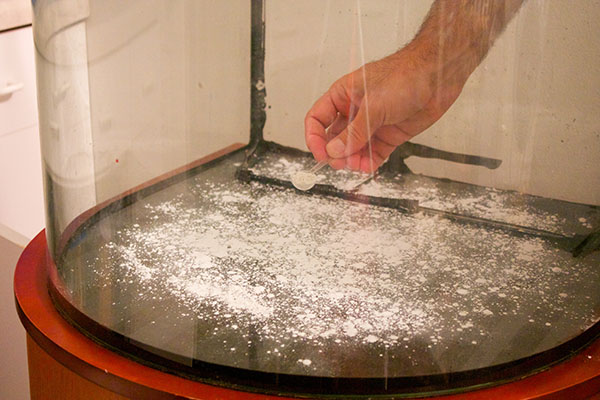
Tourmaline is next. I prefer to use a lot:
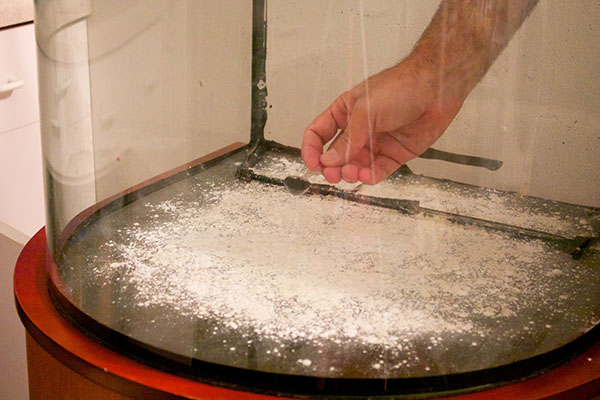
Clear Super covers the Tourmaline. I also like to use a lot. It helps with quickly clearing the water:
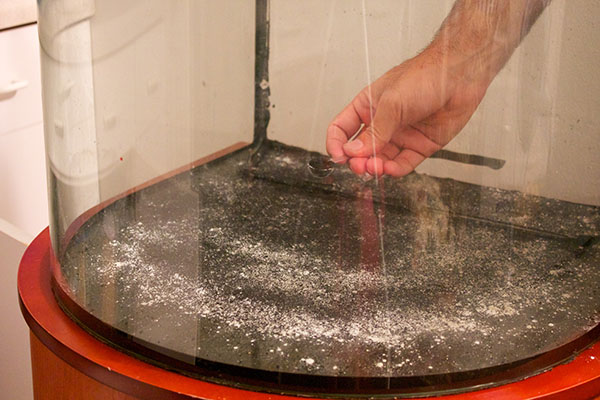
Finally, the Bacter 100 goes over everything. I like to put it below the Power Sand. Some put it on top of it.
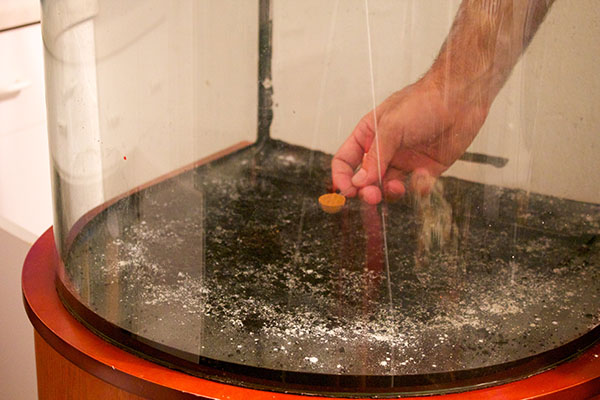
Here’s the finished substrate base. I’m now almost ready to add the Power Sand.
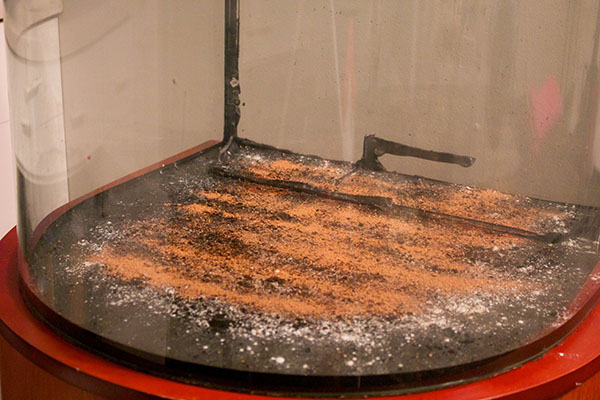
But first, I like to sweep the base out of the sides so that it won’t show later.
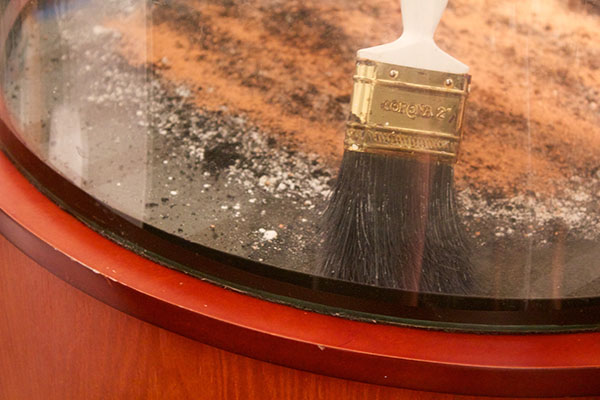
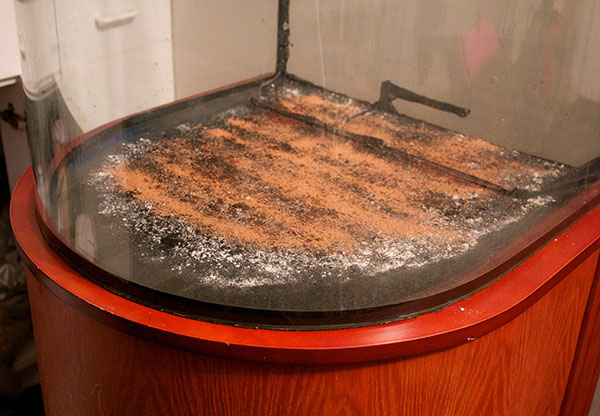
Ah. That’s better. Nice and neat. Well, kinda.
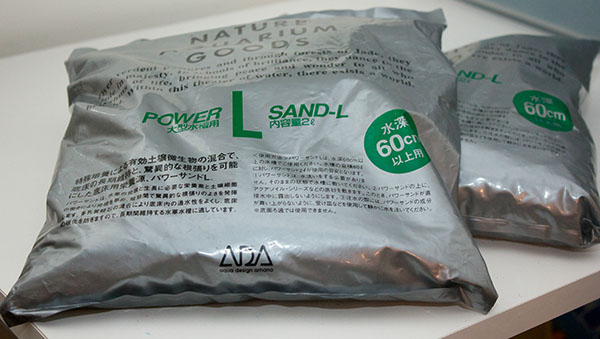
Power Sand L
Bring on the Power Sand. As with some of the base substrate additives, Power Sand will help you if you are setting up an aquarium for the long term. If you’re going to be redoing your aquarium annually, you can skip it. If not, use it or something like it. It’s a combination of pumice stone, peat and a few other ingredients that provide a great area for substrate organisms to flourish and do their job. Their job? Jobs, better said. Many processes rely on the work of the substrate microorganisms that live in the substrate solution. At the end of the day, think of it as the workers that live in the nutrient storehouse we call the substrate. They create the right conditions for the plant roots.
It is best to cut the tip of the bag and carefully pour it over the planting area. Be careful or it will go everywhere.
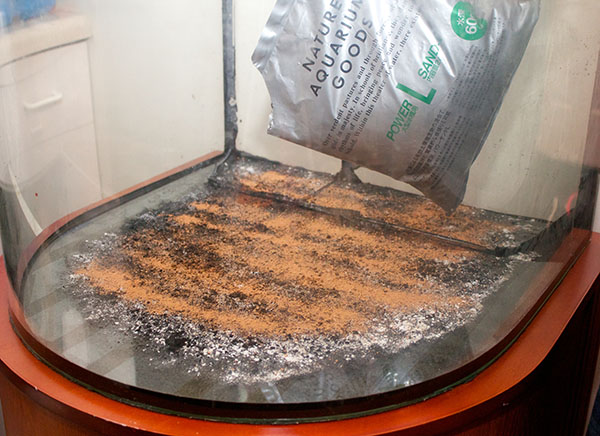
I like to pour it out in the center and then use a triangle to spread it out to where I want it. Notice the peat-coated pumice stones? I chose the large size due to the 24+ inch water column. The larger size won’t get squeezed down as much with the water pressure.
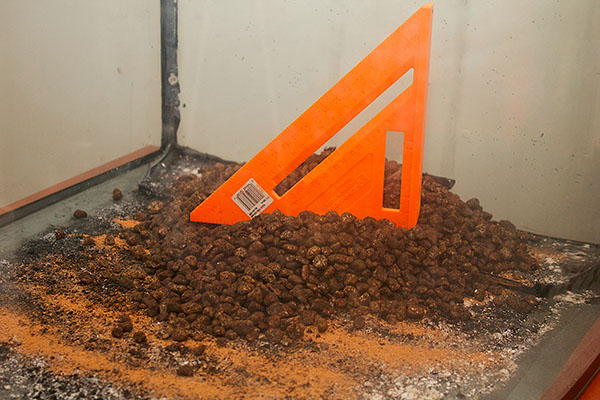
All done. Nice and neat and only over the area I plan to plant.
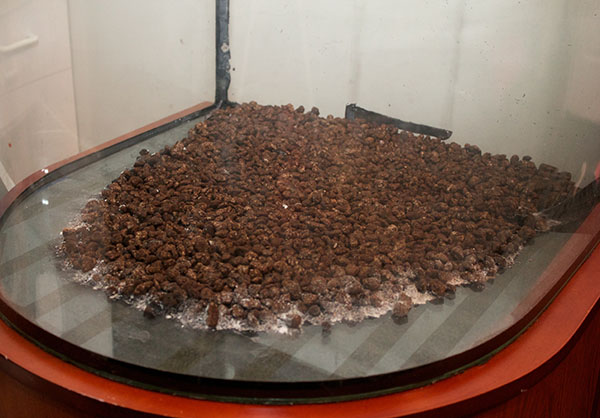
The hardscape – stone
I chose to use the stone I had lying around and available. I bought this batch at the last AGA Convention in Ft. Lauderdale and I’m finally going to use them. They will come in handy as I try to build a wall between my substrates.
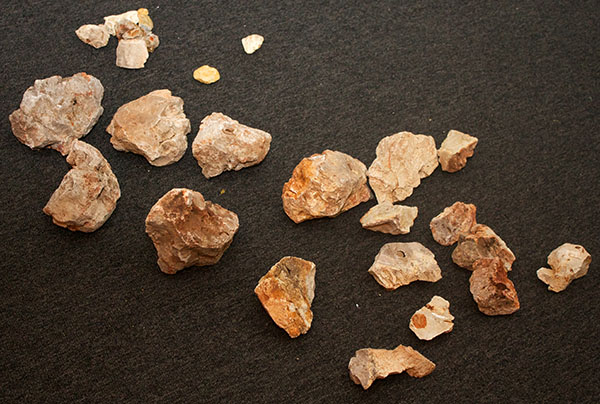
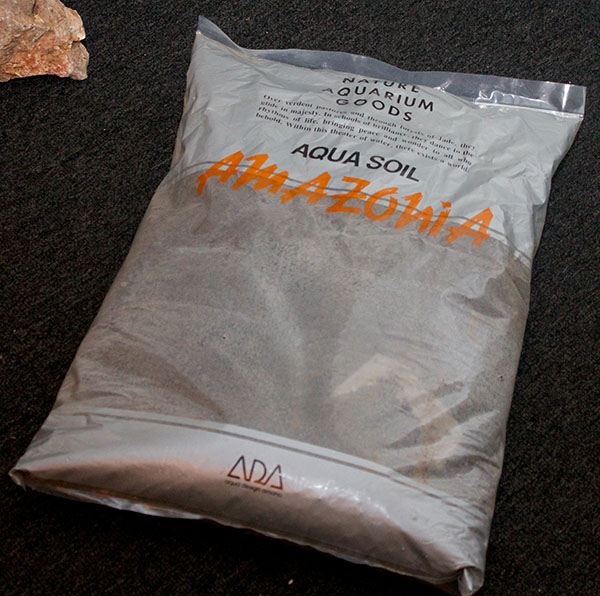
The substrate – Aqua Soil Amazonia normal
I’ve tried almost every substrate out there except some of the newer European ones. In my experience, Aqua Soil has been set it and forget it. I normally would use the powder type for easier planting but as our ADA importers are currently out of stock, I’m using the normal. What are you going to do?
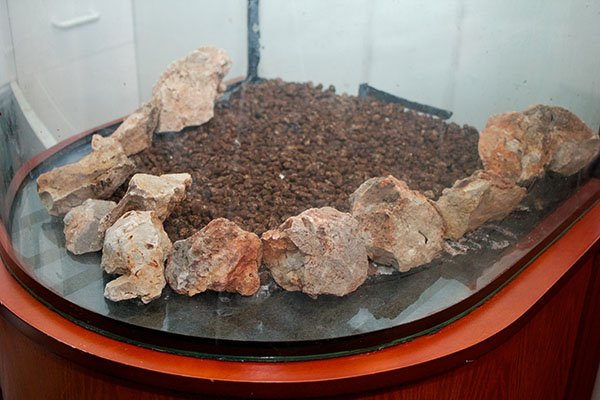
The boundary layer
One of the issues with doing a two substrate system is the unavoidable mixing that happens. When I don’t have time to do a bent acrylic boundary, I resort to using stone. They are heavy and do a pretty good job holding the separation. It’s not perfect but they do work.
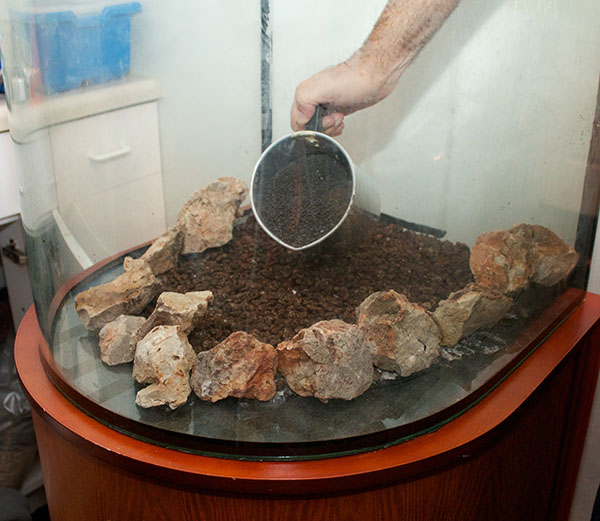
Bring on the Aqua Soil. Note that I am using a container to control where it falls. Pour from the back when you need to be this careful is a bad idea.
The hardscape – wood
Tom Barr sold me some awesome wood a few years ago and I’ve been saving it. It’s time to get it wet. When I got the shipment from Tom, what you see here was one giant piece of driftwood. I cut it down to several piece so that they are easier to work with.
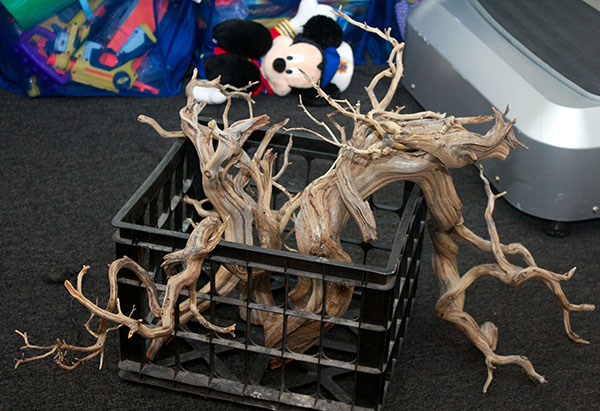
I chose a piece that I wanted to use as the focal point and went to work. At first I positioned it with the tall side to the front. As you can see here, this threw the aquascape out of balance.
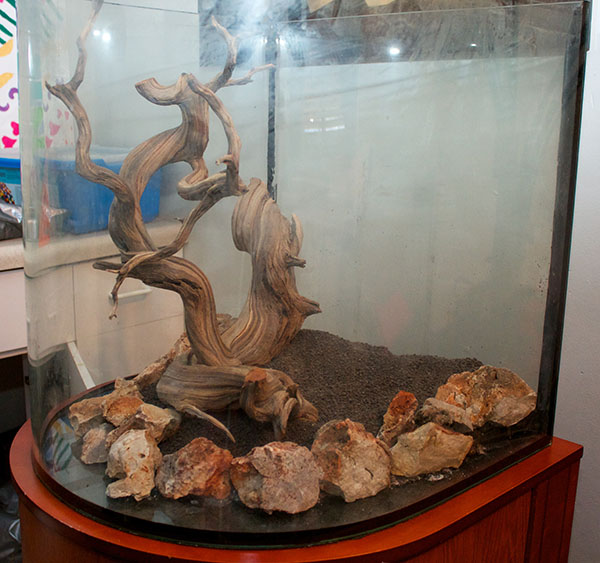
I repositioned it to the back and BAAM! balance is back. It feels to me like it belongs that way so I left it. I’m already starting to visualize the moss, microsorum and bolbitis I may use on it. I’m thinking about the plants I’ll use to draw attention to the beautiful branches and to highlight it’s height by having low foreground plants. The aquascape is starting to reveal itself to me.
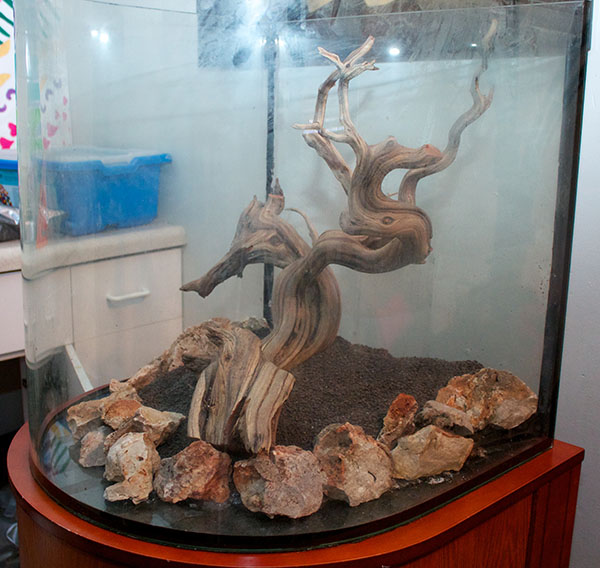
Here’s a view from the front. Apologies for the flash in the picture. I was working quickly.
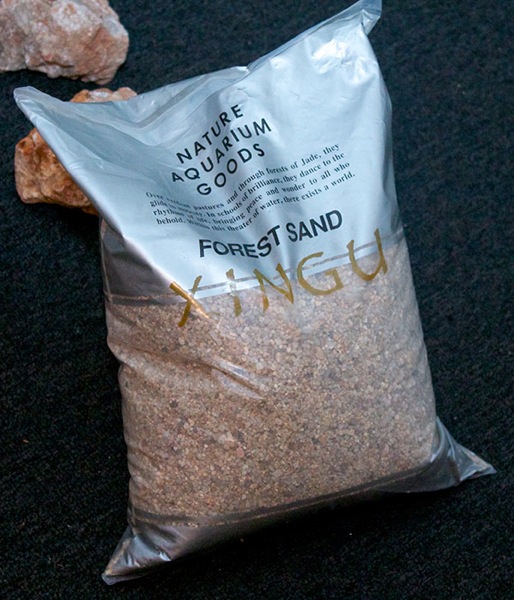
The show sand – Forest Sand
I’m not a huge fan of the sand look for aquascapes because they are like owning a nice black car. They’re a pain to maintain no matter how much you look after it. However, I thought this scape really called for the look due to the aquarium shape and being visible from various sides. I chose the larger grained Forest Sand.
Notice how those rocks you probably thought were too big and ugly are now starting to disappear and doing their job.
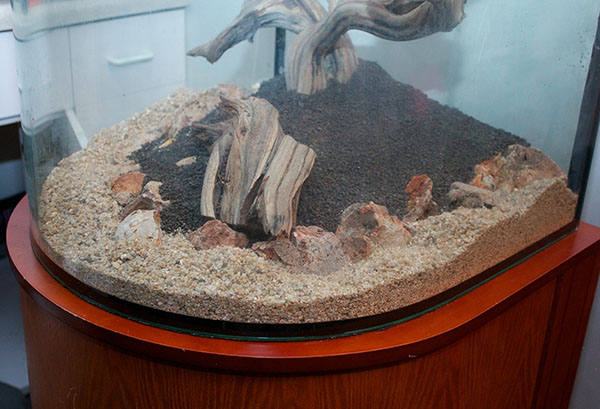
Here’s a few shots showing a close up of the separation line. Note that I will be further hiding this line with additional stones and transition plants.
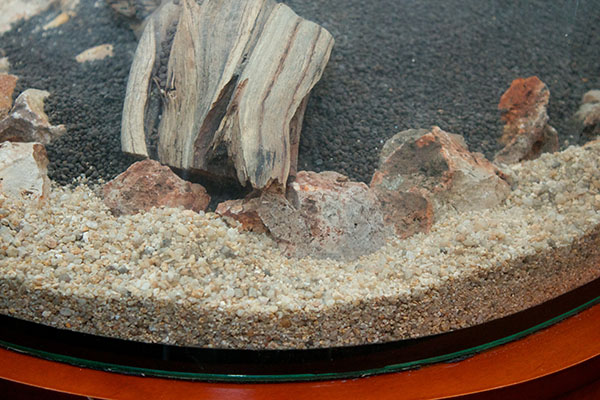
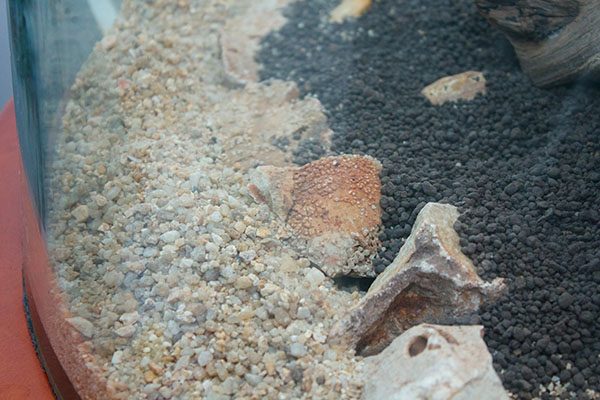
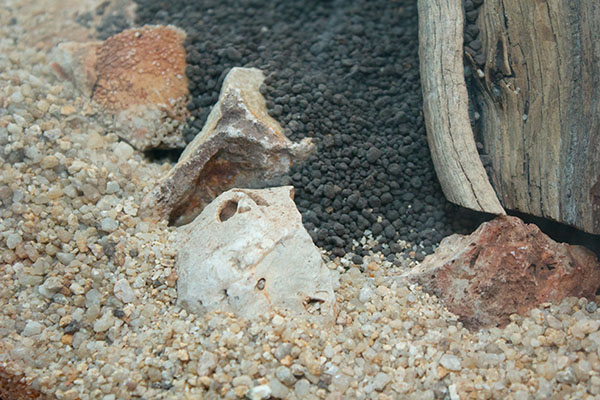
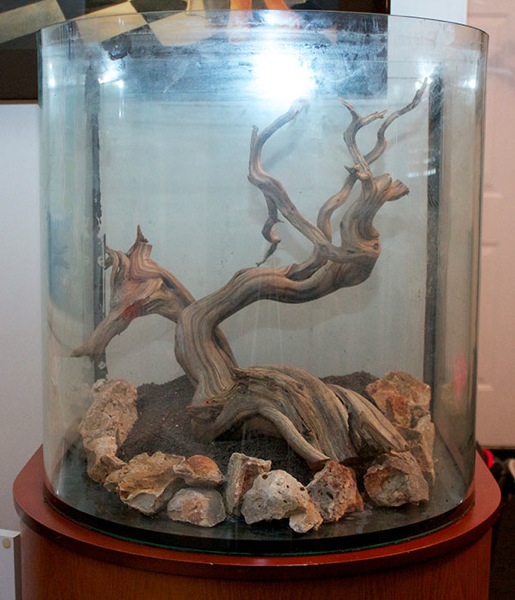
The aquascape is now starting to take shape and really speak to me. I can visualize placement of plants and the types of plants I’m going to need. I’m also starting to visualize the species of fish I will like use to give the impression of a cloud around the tall branch on the right.
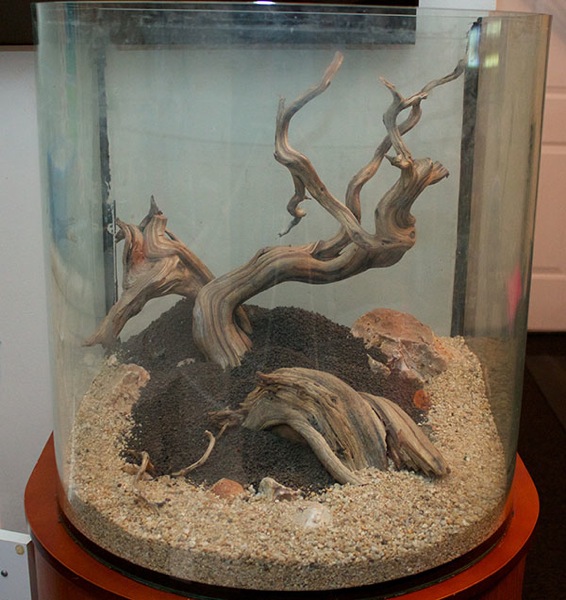
Here’s an angle view. This aquarium is really nice as it gives a seamless transition due to it’s curves.

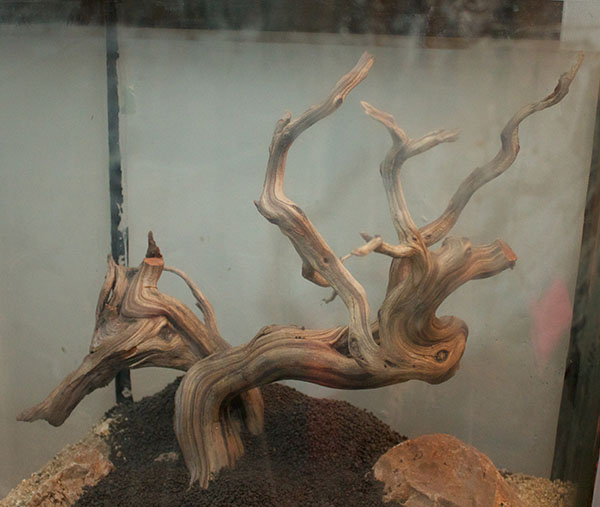
A close up of the old tree. What types of plants do you see on it? What does your imagination tell you about this tree? Is it old, barren, lush, green?
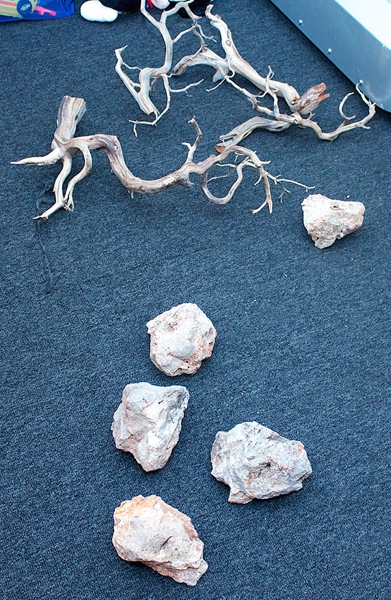
Finally, a quick shot of the leftovers. After so many years and so many aquariums, a part of me still feels bad leaving stuff out. However, as I’ve learned from the masters, what you leave out is just as important as what you put in.
I hope this quick view of the initial set up was entertaining for you. Please stay tuned for the rest of the series that walks you through the entire process up to and including the hands-on testing of the EcoTech Marine Radion. It’s going to be very cool.

